Understanding the anatomy of a staghorn fern is the foundation of good care. Each part of the plant serves a distinct purpose, and knowing what to look for helps you diagnose problems, choose the right species, and even predict how a hybrid will behave.
The Five Key Parts of a Staghorn Fern
Every Platycerium, from the common P. bifurcatum to the rarest hybrid, shares the same basic body plan:
Crown
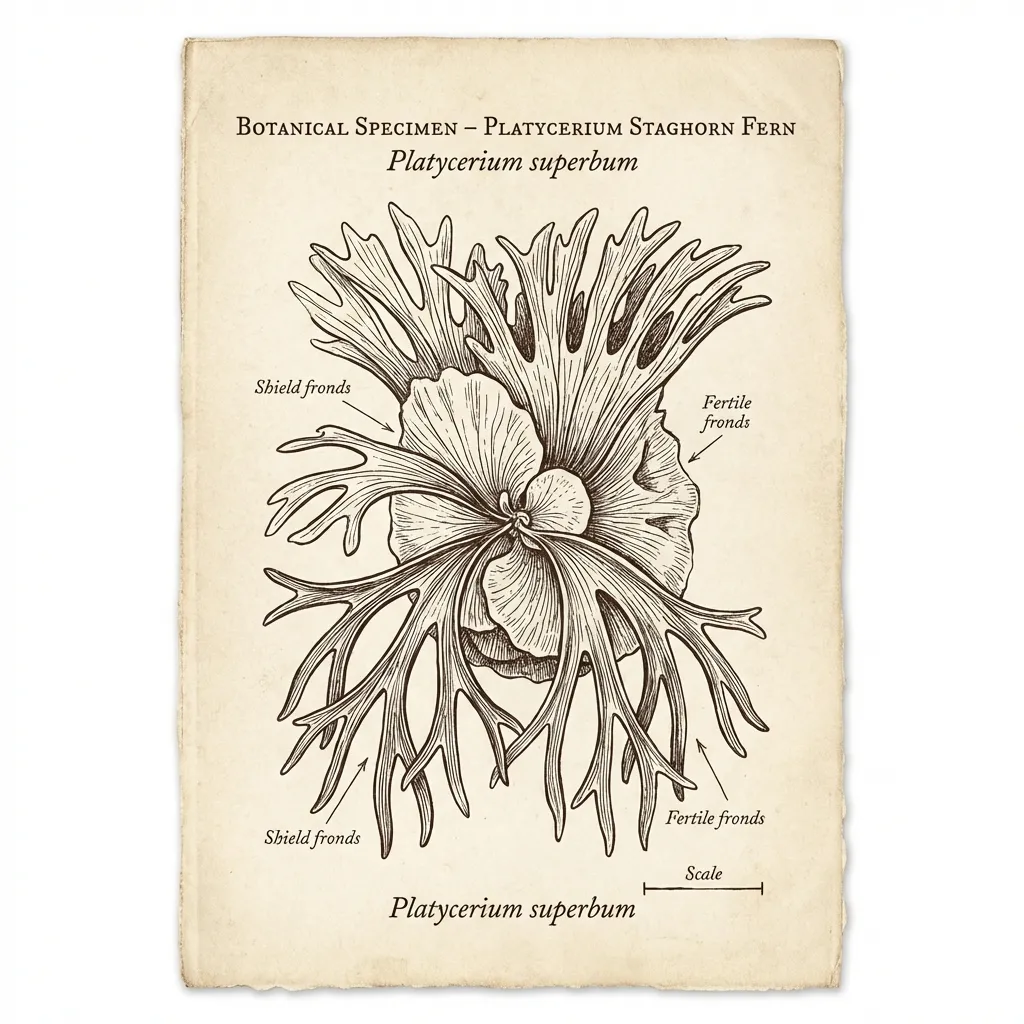
The crown is the topmost growing region where new shield fronds emerge. When a crown is green, the plant is actively growing. As older crown tissue is consumed for energy, it turns brown — this is normal, not a sign of disease. A recent 2025 paper proposed separating Platycerium into its own family (Platyceriaceae), though this has not yet gained wide acceptance.
Shield Frond (Face)
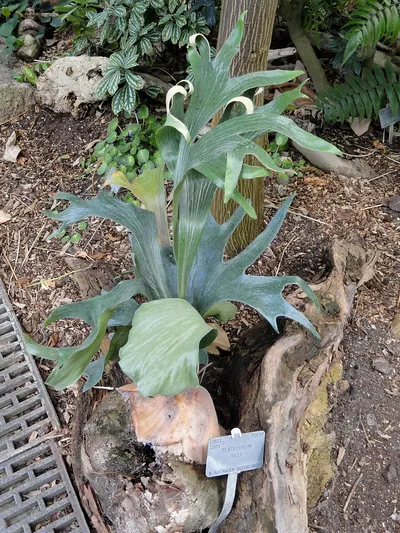
Also called the basal frond or sterile frond, the shield frond is the round, flat structure that hugs the mounting surface. Its primary role is energy storage — it accumulates starches and water reserves that sustain the plant during dry periods. In many species the shield frond also forms a “pocket” that traps falling debris, creating a self-composting nutrient reservoir.
Bud Point
The bud point (or growth point) is where new fertile fronds originate. It is typically covered in a layer of white or silvery stellate trichomes (star-shaped hairs) that protect the delicate meristematic tissue from UV damage and desiccation. The bud point is the most sensitive part of the plant — damage here can be fatal for single-bud species.
Fertile Frond (Hand)
The fertile frond — often called the “hand” because of its forked, antler-like shape — is responsible for reproduction. These are the dramatic, hanging or upright fronds that give staghorn ferns their common name. Fertile fronds carry the sporangia and are the primary site of photosynthesis.
Sporangium
The sporangium is the spore-producing structure found on the underside of mature fertile fronds. It appears as a fuzzy, felt-like patch of trichomes (the spore patch). Beneath this layer of fine hairs lie the spores themselves. When mature, spores darken to brown and are released by wind.
The Root System
Beneath both the shield frond and the bud point, staghorn ferns develop fine, hair-like roots. These roots originate from vascular bundle splits and serve primarily for attachment rather than nutrient absorption. Unlike terrestrial ferns, Platycerium roots anchor the plant to bark, rock, or mounting boards while the shield fronds handle most water and nutrient collection.
Single-Bud vs. Multi-Bud Growth Patterns
One of the most important — and most misunderstood — distinctions in the Platycerium world is the difference between single-bud and multi-bud growth types. This classification affects everything from propagation strategy to long-term survival.
How Bud Type Is Determined
A common misconception is that multi-bud species simply produce “side buds.” In reality, the distinction is determined at the root tip level: whether the root system’s terminal cells can differentiate into new growth points. What hobbyists traditionally call “side buds” are actually secondary root-derived shoots, while true “side buds” in the botanical sense (keiki-like offshoots from the main stem) are a different phenomenon.
Comparison Table
| Trait | Single-Bud Type | Multi-Bud Type |
|---|---|---|
| Bud point count | Usually only one main growth point; difficult to recover if damaged | Multiple growth points present simultaneously; survives even if the main bud is damaged |
| Vegetative propagation | Nearly impossible to divide; relies almost entirely on spore propagation | Readily produces offsets and pups; easy to divide and share |
| Genetic mechanism | Strong apical dominance; hormones concentrated centrally | Growth hormones distributed diffusely; local activation of new bud sites |
| Behind the shield | No obvious bud structures behind the shield frond | Multiple bud protrusions or small offshoots often visible behind the shield |
| Response to bud damage | Plant may decline or die after growth point injury | New buds regenerate near the wound; indeterminate bud swelling observed |
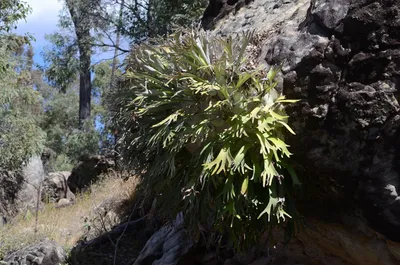
| Environmental adaptation | Typically found in stable environments — high in the canopy on mature trees | Often found in disturbed or open forest habitats; capable of rapid colonization |
Important Caveat
Some cultivated varieties or older specimens may produce “secondary buds” under environmental stress, but their underlying structure still conforms to the single-bud pattern. For example, P. ridleyi occasionally shows multiple growth points under extreme conditions, but these arise as lateral extensions of the main stem rather than independent root-derived buds — structurally, it remains a single-bud species.
Why Anatomy Matters for Care
Understanding these structures directly informs how you care for your plant:
- Watering: Soak the shield frond and root mass, not the bud point. Persistent moisture in the crown or bud point invites rot. See our watering guide for the weight test method.
- Mounting: Position the plant so the root zone contacts the mount surface firmly — the hair-like roots need physical contact to grip. Our mounting guide covers step-by-step techniques.
- Propagation: For multi-bud species, separate pups when they have their own shield frond. For single-bud species, spore propagation is the only reliable method. See our propagation guide for detailed instructions.
- Damage assessment: If a single-bud species loses its growth point, the prognosis is poor. For multi-bud species, even severe damage is often recoverable. Read our dying staghorn guide for emergency triage steps.
For detailed profiles of all 18 species and their bud types, browse our species index or read the complete species guide.