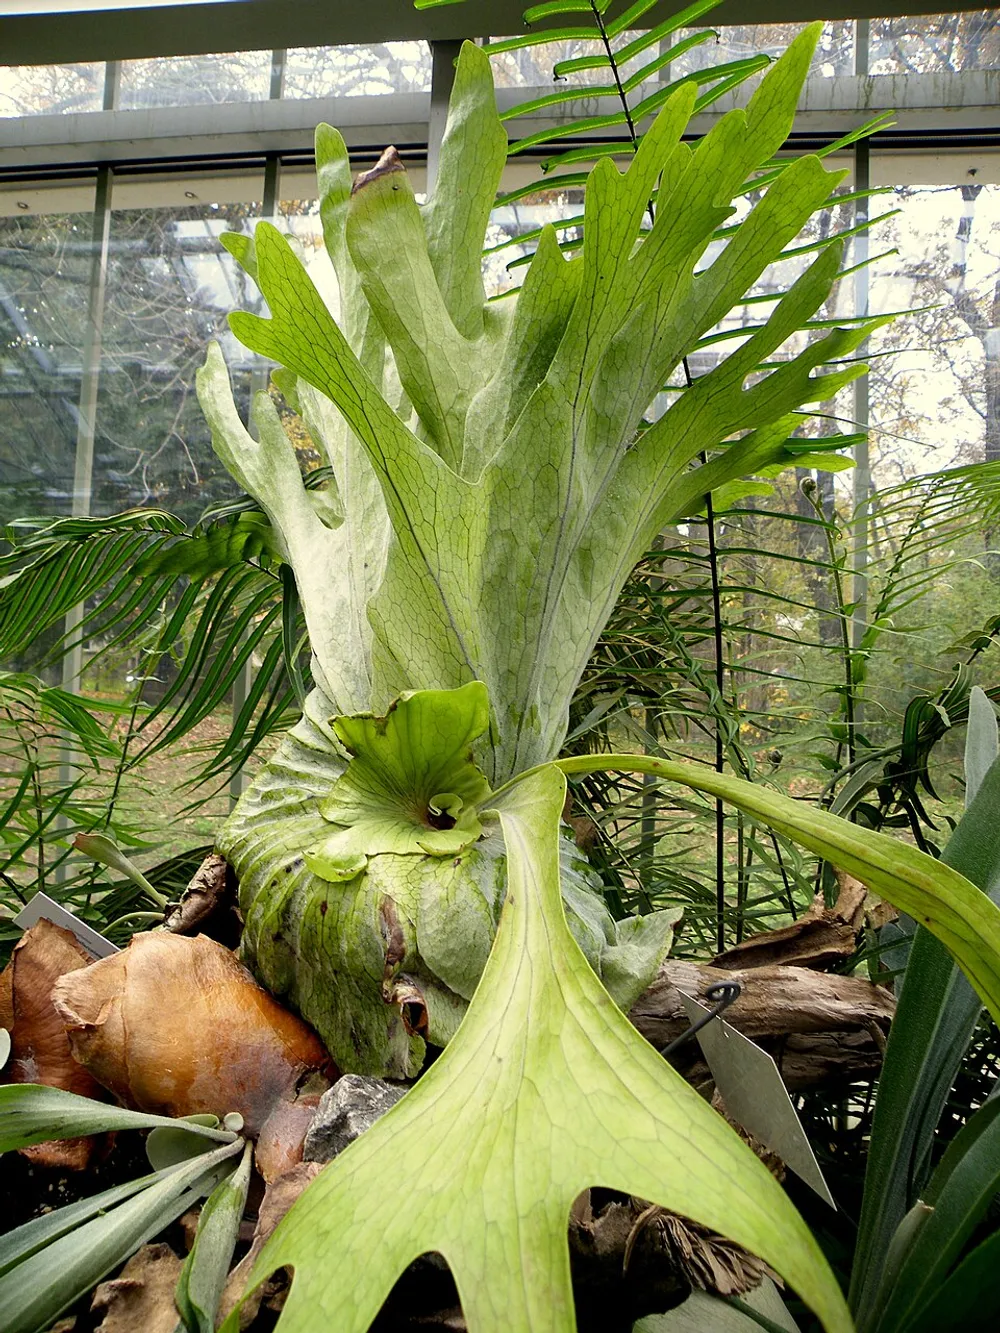
If you have ever turned over a mature Platycerium fertile frond and seen the velvety brown patches on its underside, you have seen the starting point of one of horticulture’s slowest, strangest, and most satisfying propagation journeys. Learning how to grow a staghorn fern from spores is what separates casual growers from serious collectors — and right now, in late May, fertile fronds on outdoor and greenhouse-grown plants are at peak spore release across the Northern Hemisphere.
This guide walks through the full workflow: identifying ripe spores, collecting them cleanly, sowing onto sterile sphagnum, nursing the green film of gametophytes that follows, and finally weaning your first sporophytes onto a mount. It is a 12–18 month project, but the payoff is genetic diversity that you cannot get from pup division — and a small army of identical-age plants you grew from dust.
Why Bother with Spore Propagation?
Most growers stop at pup division, and that is perfectly fine for clonal copies of plants you already own. (If you’re not sure which route suits your plant, start with our staghorn fern propagation guide, which compares every method — including why leaf cuttings don’t work.) Spore propagation is different. According to a 2024 in vitro study in Plant Growth Regulation, a single fertile frond can release millions of spores, and the resulting sporophytes carry genetic variation that opens the door to subtle new forms and cultivar selection (Springer Nature).
| Method | Time to mountable plant | Genetic outcome | Best for |
|---|---|---|---|
| Pup division | 4–8 weeks | Identical clone | Quick gifts, propagating a favorite plant |
| Spore sowing | 12–18 months | Sexual recombination, novel variation | Collectors, hybridizers, mass production |
| Tissue culture | 6–12 months | Clonal mass-production | Commercial growers only |
Martha Stewart’s recent Homes & Gardens feature on her terrace-grown staghorn put the species back in the 2026 collectible-plant conversation, and growers chasing that aesthetic increasingly want plants they grew themselves — not nursery clones. Spores are how you get there.
Step 1: Identifying and Collecting Ripe Spores
Spores are produced on the underside of the antler-like fertile fronds (sporophylls), not on the round shield fronds. On most species, you will see one or two large velvety brown patches near the frond tips. Look for these signals before you collect:
- Color: Patches turn from green-yellow to deep chocolate brown when ripe
- Texture: A slightly powdery, almost suede-like surface
- Shedding test: Brush the patch gently with a fingertip — ripe spores release as a fine brown dust
Cut a section of fertile frond carrying ripe sporangia and place it sporangia-side-down on a sheet of clean white paper. Cover with a second sheet to limit airflow and leave undisturbed for 24–48 hours. When you lift the frond, you should see a fine rust-colored deposit on the paper — that is your spore harvest. Fold the paper into a small envelope and store at room temperature in a dry place until you are ready to sow (spores remain viable for 6–12 months, sometimes longer).
[!IMPORTANT] Spores are airborne. Work in a draft-free room — even a passing breeze can blow your entire harvest off the paper.
Step 2: Preparing a Sterile Sowing Container
This is the step most home growers underestimate. Spores germinate alongside any airborne mold, algae, or moss spore that lands in the container, and contamination is the #1 reason home sowings fail.
You need:
- A clear plastic container with a tight-fitting lid (a 1-liter takeaway box or a sterile petri dish works)
- Long-fibered sphagnum moss, milled or chopped fine
- Boiling distilled or rainwater
- A spray bottle of distilled water
Pack the bottom of the container with 2–3 cm of finely chopped sphagnum. Pour boiling water through the moss to drench it completely and kill surface contaminants, then drain off excess water. Seal the container and let it cool fully. The medium should be wet but not pooling — squeeze a handful and it should release only a few drops.
Research published in Notulae Botanicae Horti Agrobotanici confirmed that sphagnum-based media give the highest gametophyte survival rates in Platycerium bifurcatum sowings (ResearchGate).
Step 3: Sowing the Spores
Tap or brush the brown spore dust very lightly across the surface of the cooled sphagnum. Less is more — you want a faint dusting, not a visible layer. Overcrowded gametophytes compete and most die.
Immediately seal the container and place it somewhere with:
- Bright indirect light (a north-facing windowsill or under a low-wattage LED, 12–14 hours per day)
- Stable temperature of 21–26 °C (70–80 °F)
- No direct sun — even brief direct light cooks a sealed container fast
Do not open the container for the next 4–6 weeks. The sealed environment maintains the near-100% humidity that spores need to germinate and prevents new contaminants from landing.
Step 4: Watching for Gametophytes
Around 2–4 weeks after sowing, a faint green film appears across the sphagnum. Under a hand lens, this resolves into thousands of tiny, flat, heart-shaped structures — these are prothallia (gametophytes), the sexually reproductive generation of the fern. Each one is only a few millimeters across.
Studies on Platycerium coronarium and P. grande documented gametophytes maturing 21–30 days after sowing, with sex organs (antheridia and archegonia) developing on the same prothallium (PMC).
For fertilization to happen, the prothallia need a thin film of water on their surface so that motile sperm can swim to the archegonia. This is why the sealed container matters — it keeps surface moisture constant without you having to mist (which would risk contamination).
Step 5: First Sporophytes
Between months 4 and 8, you will begin to see tiny upright green spears pushing up from the carpet of prothallia. These are your first sporophytes — the recognizable fern generation. At first they look nothing like staghorn ferns; expect small, narrow, undivided leaves. The characteristic antler shape only emerges after the fifth or sixth frond on each plant.
Once sporophytes are 1–2 cm tall, crack the container lid slightly each day to begin acclimating them to ambient humidity. Over 2–3 weeks, gradually open the lid more until you can remove it entirely.
Step 6: Pricking Out and Mounting
When sporophytes reach 3–5 cm with at least 3–4 fronds, lift small clumps of moss with attached plants and transplant them — moss and all — onto larger trays of fresh sphagnum, spacing them 3–4 cm apart. Mist daily with distilled water and continue 12–14 hours of bright indirect light.
At around 12–15 months, your young plants will be large enough to mount individually. Use the same wood-and-sphagnum technique covered in our mounting guide, but choose smaller mounts (15–20 cm boards) sized for juvenile plants. Begin a light feeding schedule only after the first true antler-shaped frond appears.
Species Difficulty Tiers
Not all Platycerium species behave the same way under spore culture. The New York Botanical Garden’s research library catalogs the genus’s reproductive biology (NYBG), and grower experience aligns with these tiers:
| Species | Spore propagation difficulty | Notes |
|---|---|---|
| P. bifurcatum | Easy | High germination rate; the standard beginner spore species |
| P. veitchii | Easy | Tolerates cooler sowing temps |
| P. hillii | Moderate | Slower gametophyte stage |
| P. willinckii | Moderate | Cultivar spores often produce variable seedlings |
| P. grande | Hard | Long juvenile stage, demanding humidity |
| P. ridleyi | Very hard | Tropical specialist, often requires lab conditions |
Start with P. bifurcatum for your first attempt. Once you have walked a single batch from spore dust to mounted plant, every other species becomes a variation on the same process.
Common Failure Modes
- Green film never appears → Spores were old, immature, or the medium was contaminated before sowing. Re-sow with fresh harvest.
- Mold takes over the container → Sphagnum was not sterilized hot enough, or the lid was opened too early. Discard and start over.
- Gametophytes form but no sporophytes → Surface too dry for sperm transfer. Mist the inside of the lid lightly and reseal.
- Sporophytes appear then collapse → Acclimation to ambient humidity was too fast. Slow the lid-opening process down to 3–4 weeks.
Spore propagation is the single best way to deepen your understanding of the Platycerium life cycle. Twelve months of patience earns you something pup division never can: a colony of unique, sexually reproduced plants that are entirely your own.