The mounted staghorn fern has officially crossed over from niche collector item to mainstream home-decor trend. After Martha Stewart hung one on her farm terrace last spring, design feeds have been flooded with antler-fronded specimens on cedar plaques, driftwood slabs, and reclaimed barn doors. May and June — when growth resumes in earnest and outdoor display season begins — are the busiest months of the year for mounting projects.
But most online tutorials gloss over the parts that actually matter long-term: which woods last, which hardware doesn’t rust through your moss, and when (or whether) to remount at all. This guide walks through the full process the way experienced collectors actually do it, so the mount you build this weekend is still hanging in five years.
Why Mounting Beats Potting
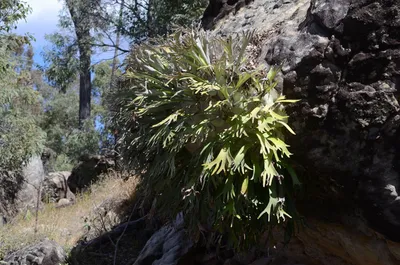
Platycerium are epiphytes — in the wild, they grow on tree trunks and rock faces, not in soil. A pot lets the root ball stay too wet, suffocates the roots, and forces the shield frond to grow against a rim it was never designed for. Mounting solves all three problems at once and lets the plant develop the cascading, sculptural form it’s known for.
Mounted staghorns also tend to live dramatically longer than their potted counterparts. Specimens at the New York Botanical Garden and the University of Florida’s IFAS extension include mounted plants over 30 years old that have grown into multi-bud colonies the size of a coffee table. That kind of longevity simply isn’t available to a plant in a 6-inch pot.
If you’re new to the species, start by reading our staghorn fern care guide before tackling a mount — getting watering and light right is more important than any board-and-moss decision.
What You’ll Need
| Component | Recommended Choice | Why |
|---|---|---|
| Backing board | Untreated cedar, oak, cypress, or cork bark slab (12”–18” minimum) | Rot-resistant, holds screws, looks natural |
| Sphagnum moss | Long-fiber New Zealand or Chilean sphagnum, soaked overnight | Holds moisture without compacting; far better than green sheet moss |
| Hanging hardware | Two stainless-steel D-rings or one heavy-duty sawtooth hanger | Won’t rust through the moss bed |
| Securing line | Monofilament fishing line (40 lb test) or coated copper wire | Invisible once fronds grow over it; doesn’t cut into the shield frond |
| Screws | 1.5” stainless-steel or brass, 4–6 of them | Anchor points for the line, set in a square around the root ball |
| Optional base layer | Coco coir or orchid bark | Adds drainage and air pockets behind the moss |
A note on board size: a young staghorn with a 6-inch shield frond will outgrow a 10” board within two years. Go bigger than feels necessary — 16” to 24” is the sweet spot for most species, and gives the shield frond room to wrap the entire surface.
Step-by-Step: The Mounting Process
1. Prep the Board
If you’re using untreated wood, give it a light sanding and let it air-dry for 24 hours. Some collectors seal the back face with beeswax or food-safe mineral oil to slow moisture absorption from the wall side — this can extend the board’s lifespan by years. Do not seal the front face; the moss needs to exchange moisture with the wood.
Drill four screws in a roughly 4”–6” square pattern in the center of the board, leaving each screw head sticking out about a quarter inch. These are your tie-down points.
2. Build the Moss Bed
Soak your sphagnum in lukewarm water for at least an hour, then squeeze it out so it’s damp but not dripping. Pile a generous mound — roughly the size of a softball, more for larger specimens — in the center of the screws. The moss should be dense enough that the root ball sits on top of it, not buried inside it.
If you have orchid bark or coco coir, mix in a small handful for air pockets. Pure compacted moss can suffocate roots over time.
3. Position the Plant
Take the staghorn out of its pot and gently tease away as much soil as you can without tearing roots. Don’t worry about getting every speck — sphagnum is forgiving.
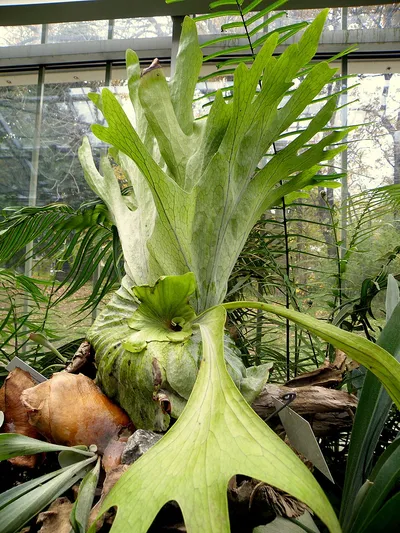
Place the plant on top of the moss with the shield frond facing the board. The shield is the round, papery frond that hugs the mounting surface; the antler-like fertile fronds drape forward and down. Orient the plant so the antler fronds point in the direction you want them to cascade once mounted.
4. Wrap and Secure
Tie one end of your fishing line to a screw and begin wrapping it across the root ball and moss in a crisscross pattern, anchoring on alternate screws. Pull firm but not crushing — the moss should compress slightly, not turn into a brick. Six to eight passes is usually enough to hold a young plant; larger specimens may need a dozen or more.
For very large or heavy ferns, switch to coated copper wire on the inner wraps and finish with fishing line on the outer wraps for invisibility. The Pike Nurseries DIY mount tutorial shows this hybrid technique well.
[!IMPORTANT] Never wrap line over the green part of the shield frond — only over the brown, papery edge or the moss itself. A line cutting into living shield tissue creates a permanent scar and an entry point for rot.
5. Hang and Water Deeply
Mount the board to a wall stud or a sturdy beam — a saturated mount can weigh 5–10 lbs, and that weight grows over the years. For the first watering, soak the entire mount in a tub for 20 minutes to fully hydrate the new moss bed. After that, follow the watering schedule below.
Mounted Watering Schedule
A mounted staghorn cannot be watered the way a potted one is. The whole mount needs to be soaked, drained, and rehung. Here’s a baseline schedule that works for most species:
| Season | Frequency | Method |
|---|---|---|
| Spring (active growth) | Once a week | 15-min soak, drain 30 min |
| Summer (heat) | 1–2× per week | 15–20 min soak, plus light misting on hot days |
| Fall | Every 10 days | 15-min soak |
| Winter (dormant) | Every 12–14 days | 10-min soak; let dry fully between |
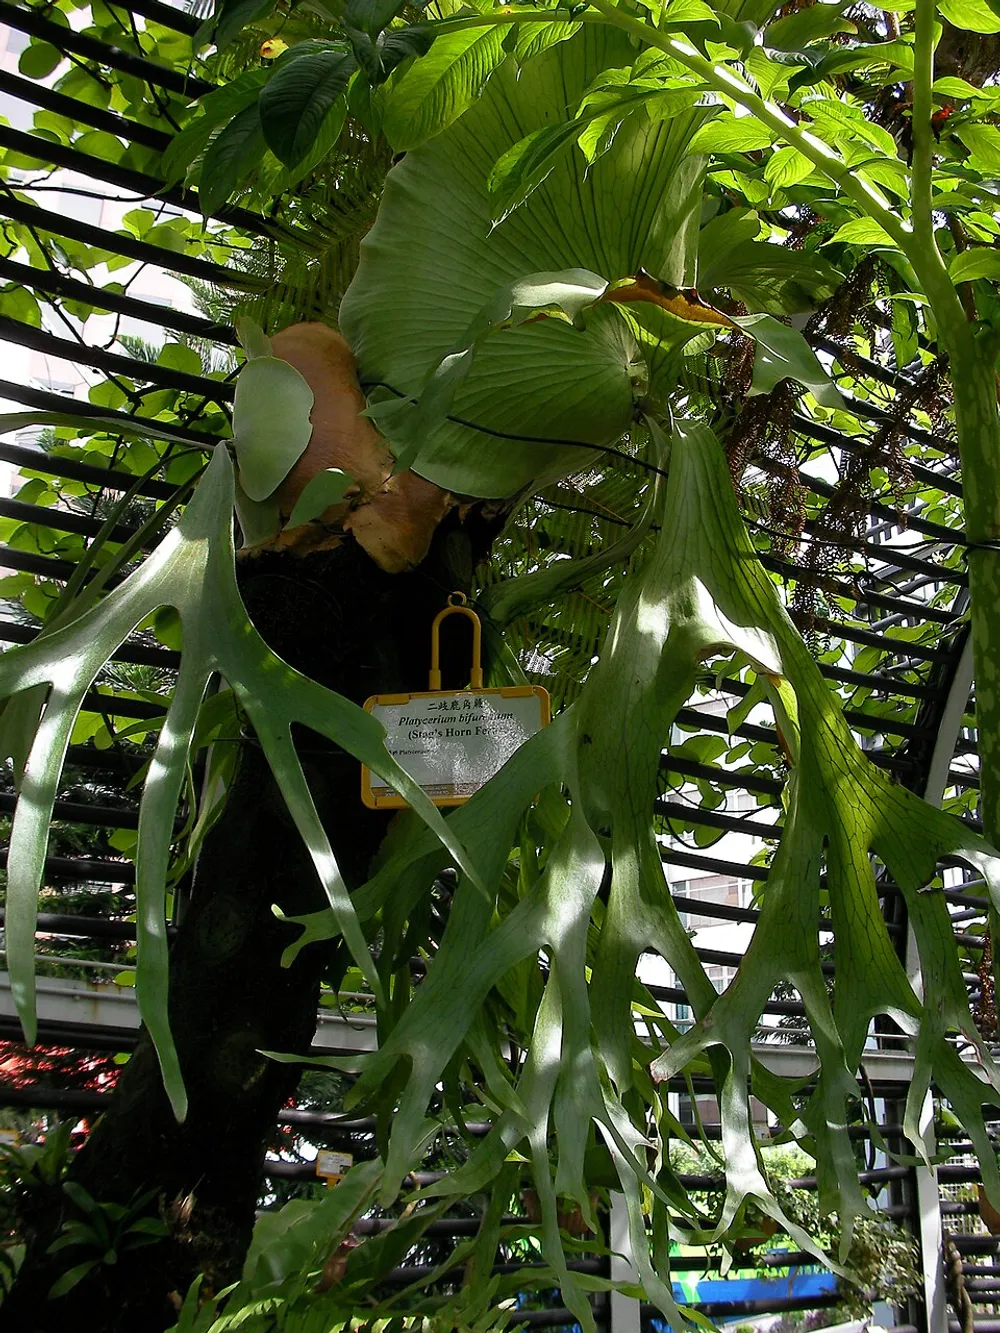
Tropical species like P. ridleyi and P. coronarium need the upper end of these ranges; cold-hardy species like P. veitchii and P. bifurcatum tolerate the lower end. For deep watering technique, see our watering wisdom guide — the principles apply equally to mounts and pots.
Choosing the Right Surface for Your Style
Different mounting substrates create completely different aesthetics, and a few have practical trade-offs worth knowing.
| Surface | Look | Lifespan | Best For |
|---|---|---|---|
| Cedar plaque | Clean, modern, light grain | 8–10 years | Indoor walls, formal display |
| Cork bark slab | Organic, jungle-like texture | 10–15 years | Tropical species, terrariums |
| Driftwood | Sculptural, one-of-a-kind | 5–8 years | Statement pieces, coastal decor |
| Reclaimed barn wood | Rustic, weathered patina | 5–10 years | Farmhouse style, large specimens |
| Cutting board (oak/maple) | Compact, easy beginner mount | 4–6 years | Small ferns, gift projects |
| Live tree trunk (outdoors) | Most natural, plant settles in permanently | Indefinite | Zone 9+ outdoor gardens |
If you’re considering a tree mount for outdoor display, our staghorn fern outdoor care guide covers species selection and tree compatibility in detail.
When to Remount (and When Not To)
Mounting is mildly traumatic — the plant has to rebuild its root grip on a new substrate, and the shield frond underneath the old mount almost always tears in the process. Remount only when one of three things is true:
- The shield frond has fully overgrown the board and is curling back on itself with nowhere to expand
- The moss has compacted into a hard mat that no longer absorbs water during a soak
- The wood is visibly rotting — soft to the touch, sloughing off in layers, or growing fungal fruiting bodies
For everything else, leave it alone. Many of the most impressive specimens you’ll see on collector forums are 10–20 years on the same original mount. The plant’s own root mass and accumulated old shield fronds form a self-sustaining substrate that’s actually superior to fresh moss.
When you do remount, the safer move is to mount the existing board onto a larger backing board rather than tearing the plant off entirely. This “mount-on-mount” technique preserves the established root system and gives the shield frond fresh territory to grow into.
Common Mounting Mistakes
A few patterns come up over and over in collector forums:
- Pine boards — they look fine for a season and then fall apart. Spend the extra few dollars on cedar or oak.
- Galvanized wire or steel screws — both rust within a year and stain the moss orange. Stainless or brass only.
- Burying the root ball — the roots need air. The plant sits on the moss, not in it.
- Mounting in winter — wait for active spring growth so the plant can re-anchor quickly. April through July is the ideal window.
- Tiny boards — a 6” board for a 4” plant gives you nowhere to grow. Always size up.
After the Mount: First-Month Care
For the first three to four weeks after mounting, the plant is recovering and re-establishing roots into the new moss. Keep it in slightly lower light than its permanent spot, water on the lighter end of the schedule, and avoid fertilizing. Once you see new fertile frond tips emerging or the shield frond beginning to expand onto the board, the plant has settled in and you can resume normal care.
A correctly mounted staghorn fern is one of the most rewarding plants you can keep — low-maintenance once established, increasingly dramatic as it matures, and capable of outliving the wood it’s mounted on. Build it well the first time, and you’ll be admiring the same mount a decade from now.